 Do you want to make a custom t-shirt that your kids will love? You can do it. It’s quick, cheap and easy!
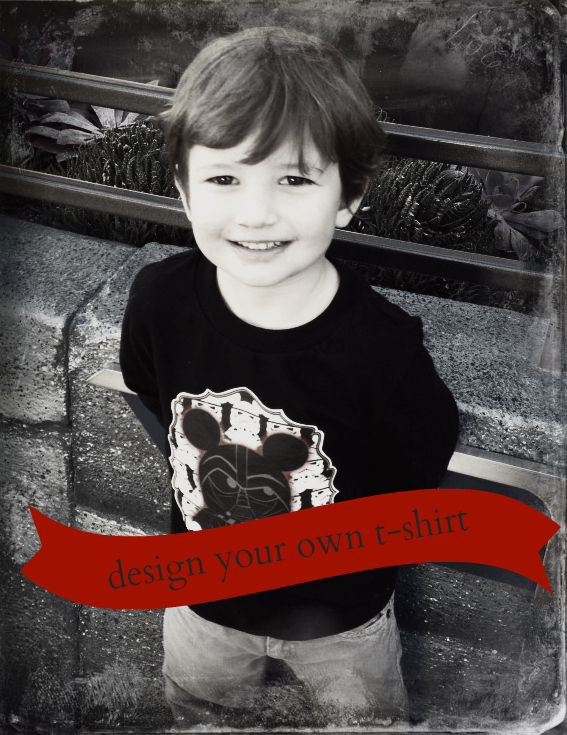
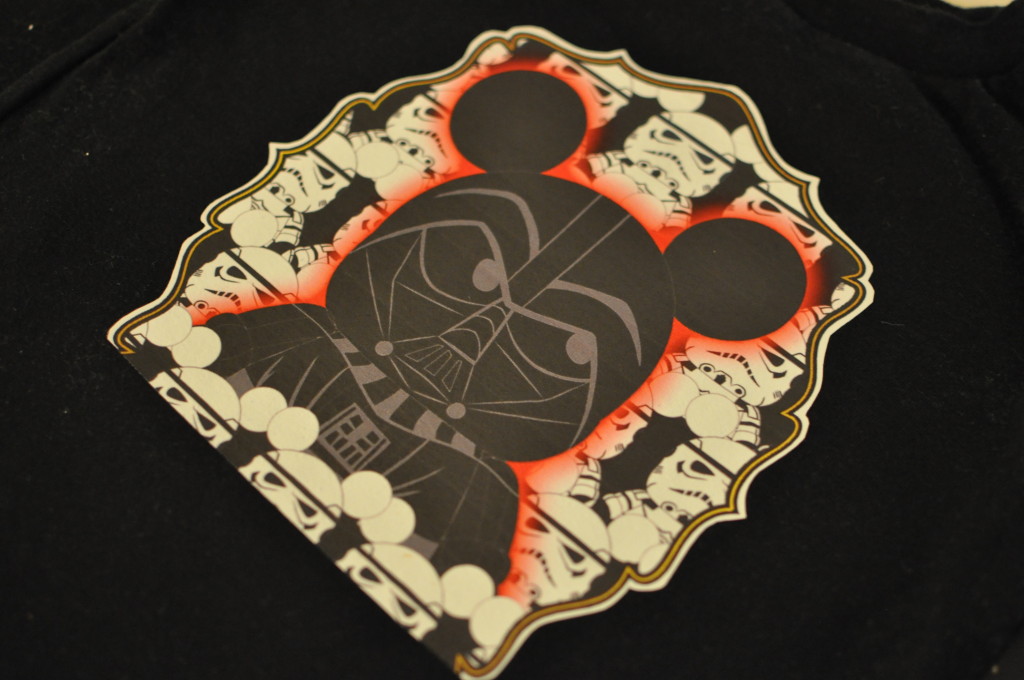
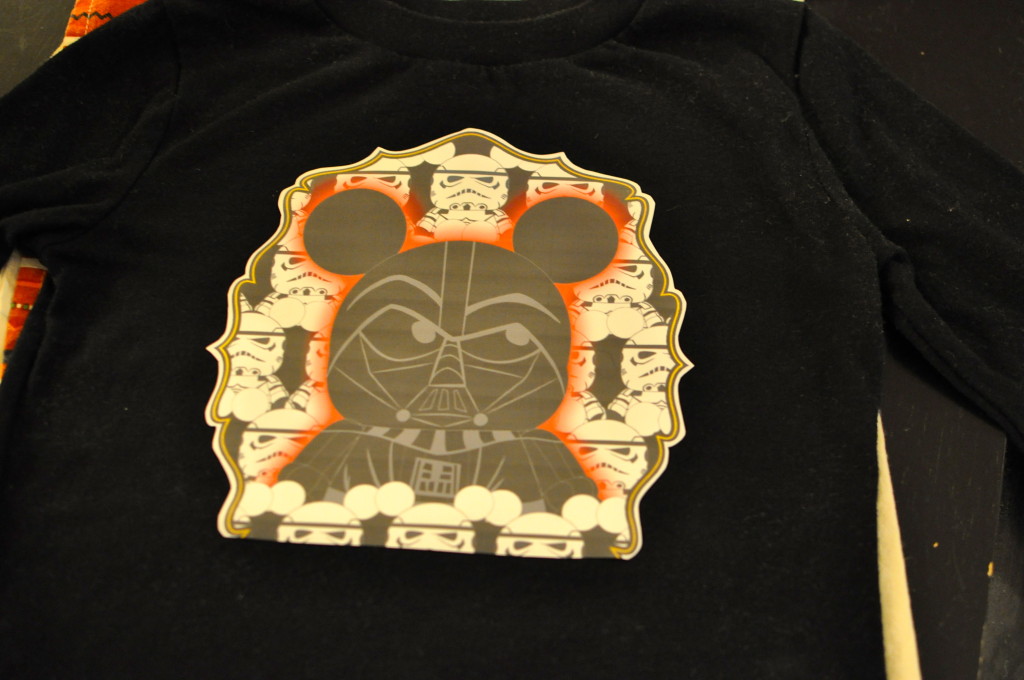
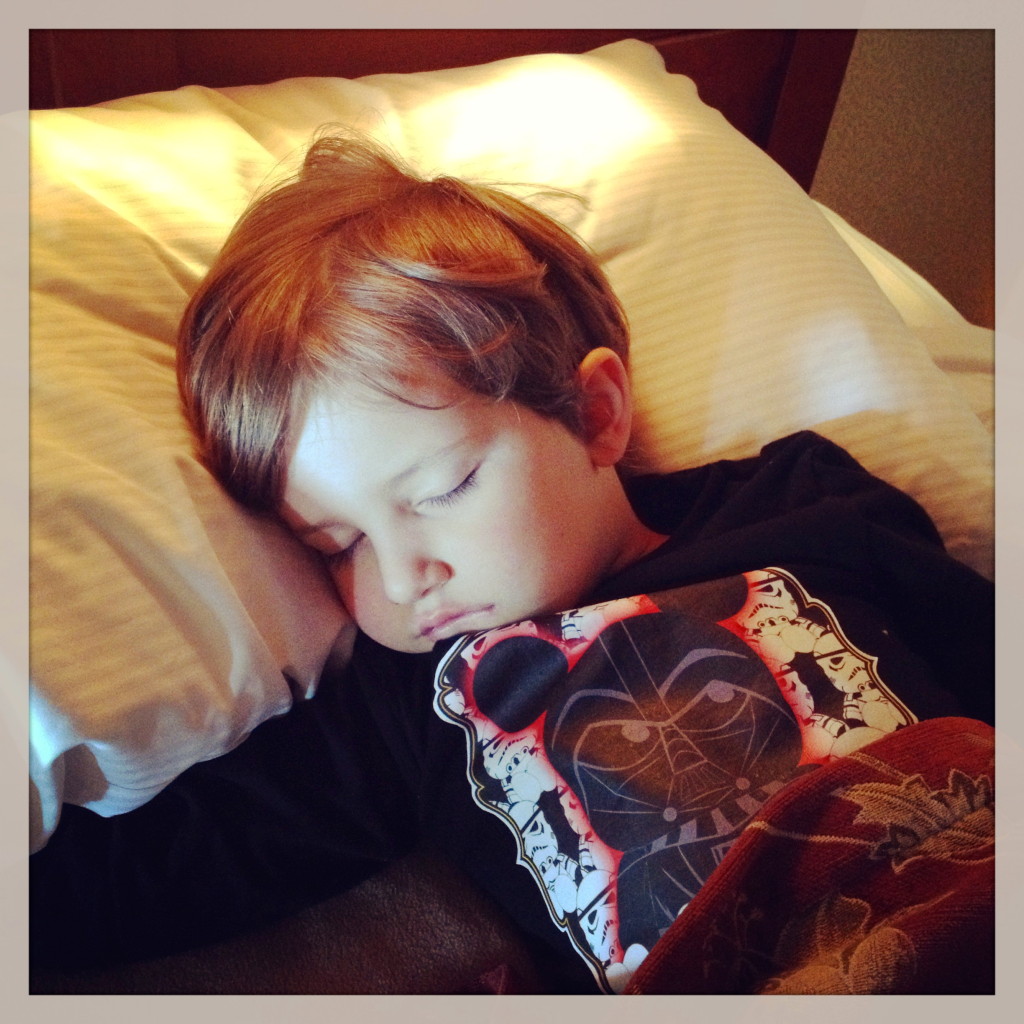
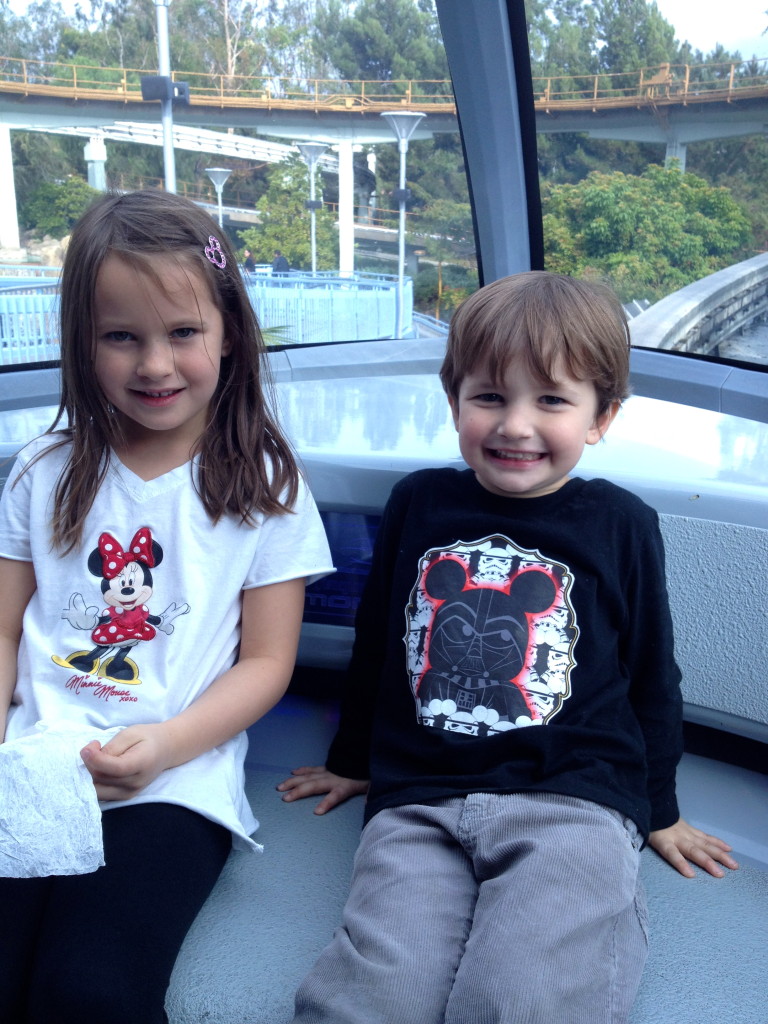 This is the shirt I made my little boy for one of our Disneyland trips.
He loved it and did not want to take it off! And it was so easy to make! Win/Win!
::what you will need::
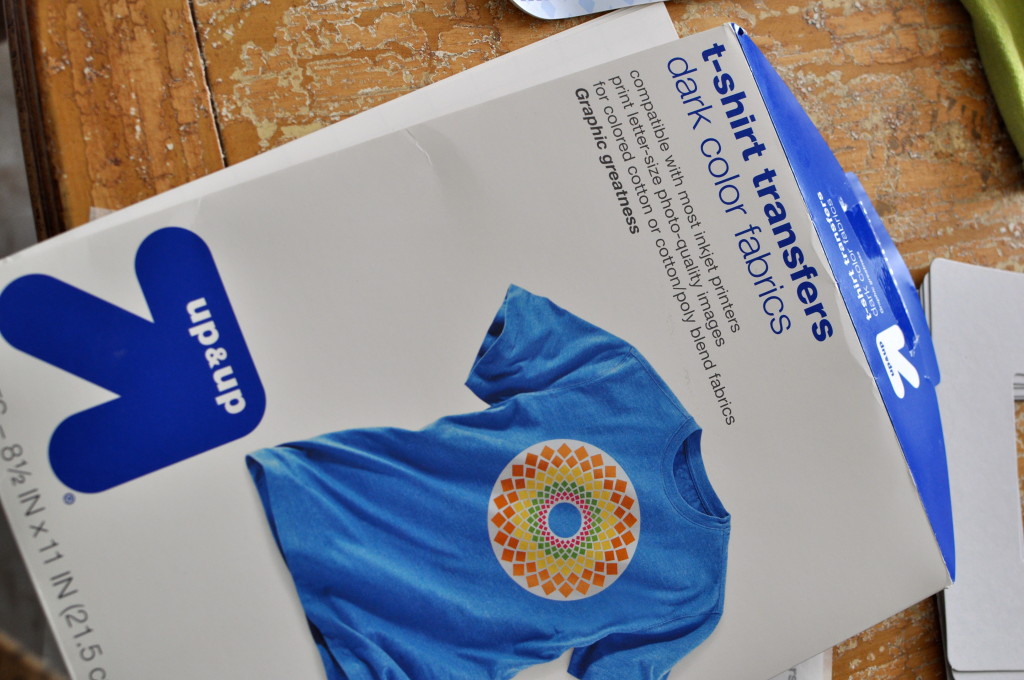
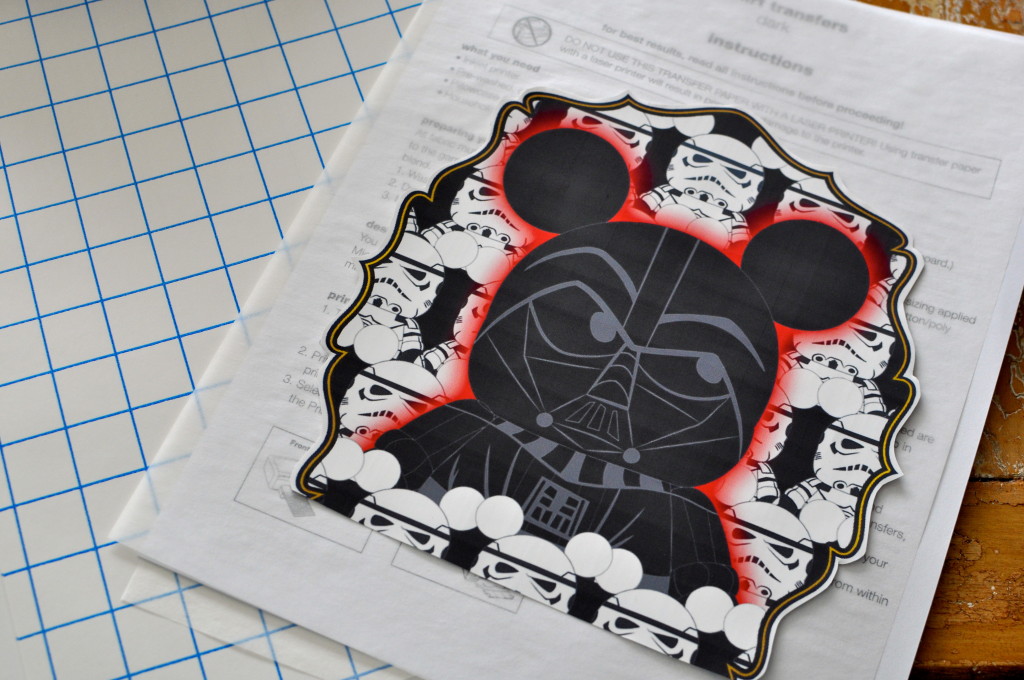
iron-on transfer kit
{I used one from Target designed for dark-colored shirts}
printer for a printed image
{use a free printable or graphic and print on your kits provided transfer paper-be sure to look at your kits directions to see if it needs to be printed right side up or in reverse}
shirt of choice {pre-washed}
{I used a plain, black, long sleeve cotton t-shirt from Target}
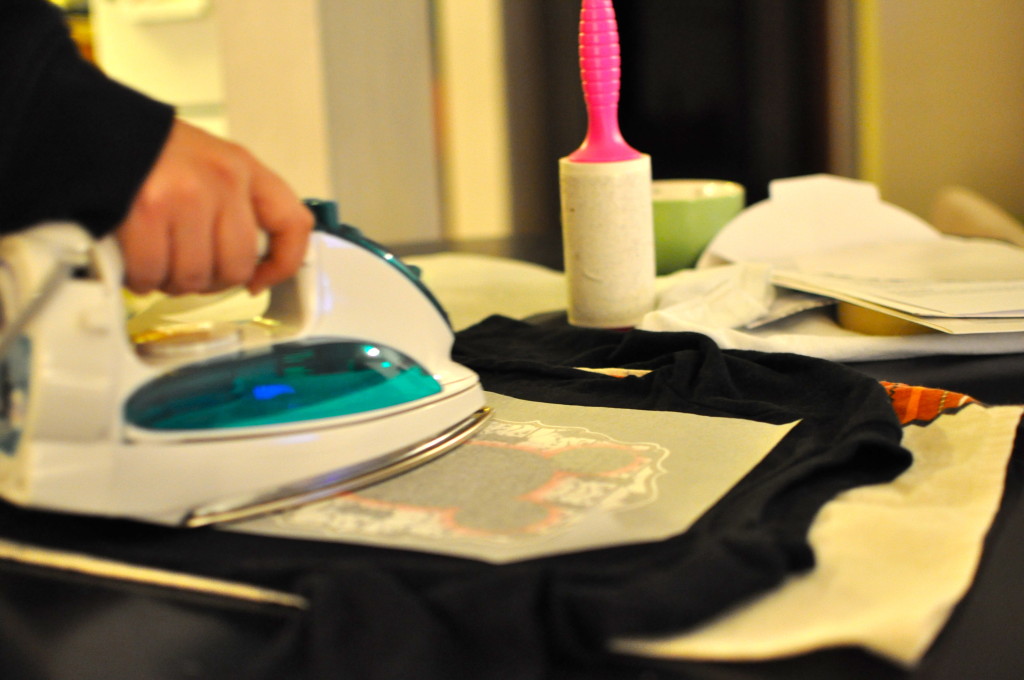
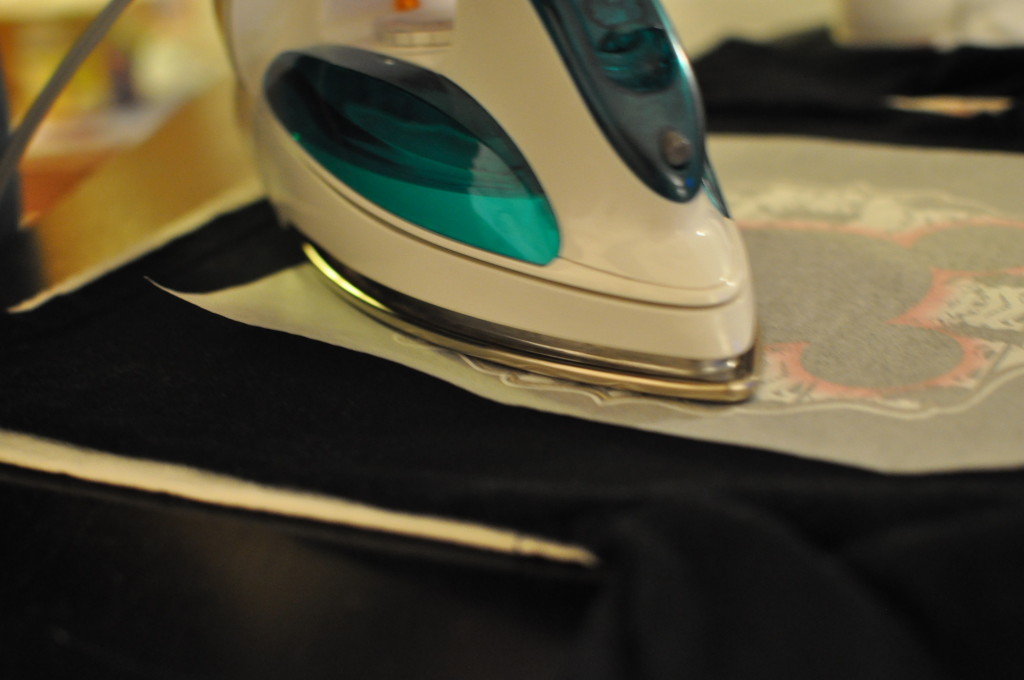
iron, lint-roller & scissors
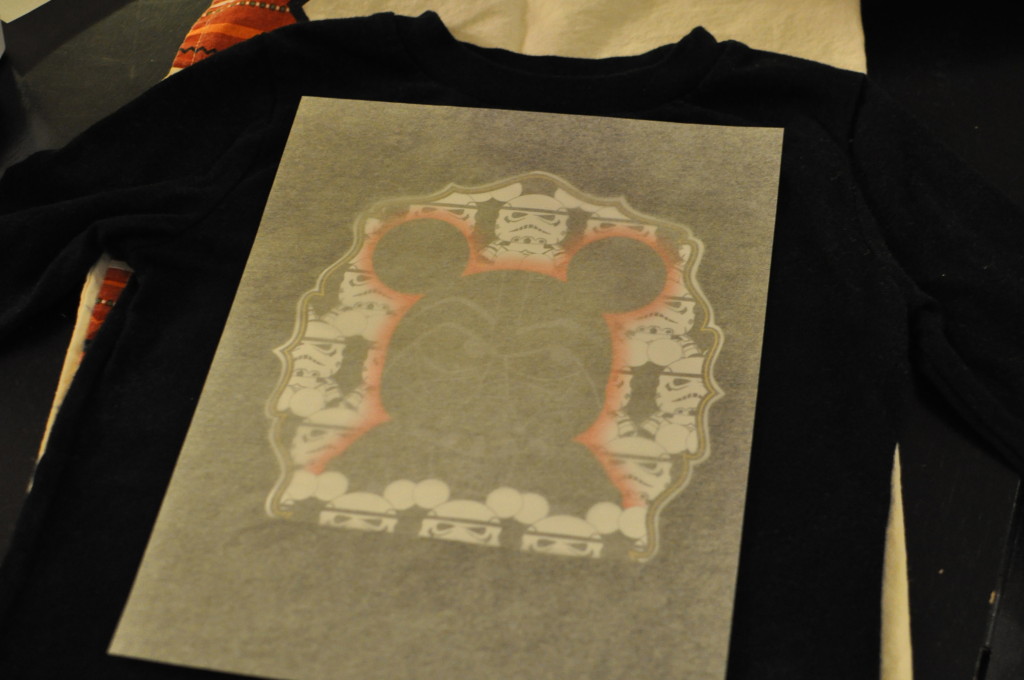
::directions::
It’s very important to follow the directions from the purchased iron-on transfer kit. As you will see in my pictures below I simply washed and dried the shirt {I removed lint as well}, printed the image, cut it out, ironed it on the shirt and let it set.


::my printed image source::
I used a template from the our printer that was connected to Disney’s family fun website {unfortunately I cannot find it online for y’all}…but you can check out their website HERE
Here are some extra printable ideas!
Make sure you are using something considered a FREE printable and not a copyrighted image.
Just remember to follow the directions of your iron-on transfer paper before printing, as some need you to reverse the image first. This can be a little more tricky and requires some extra steps so check it out before you print.
Please note that you may need to get creative {and not all of these images will work} but you can find a colorful & complete graphic to make almost anything work.
If you like this method the possibilities are endless…find tons of FREE unique, vintage and decorative images HERE at the Graphics Fairy {great for your home, pillows, cloths, prints and/or homemade gifts}.
