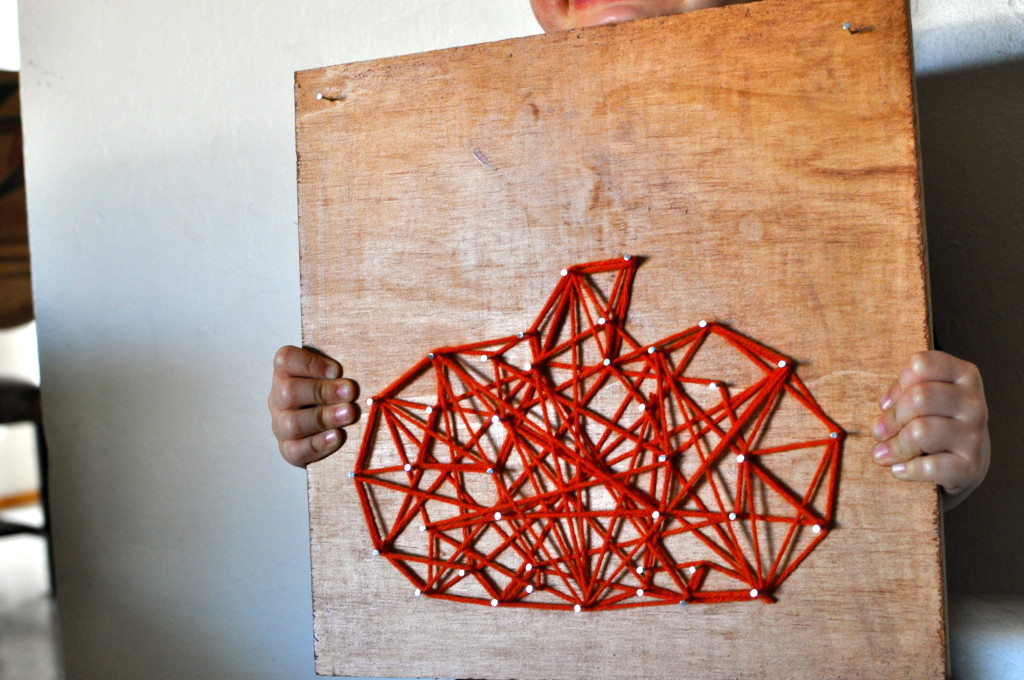
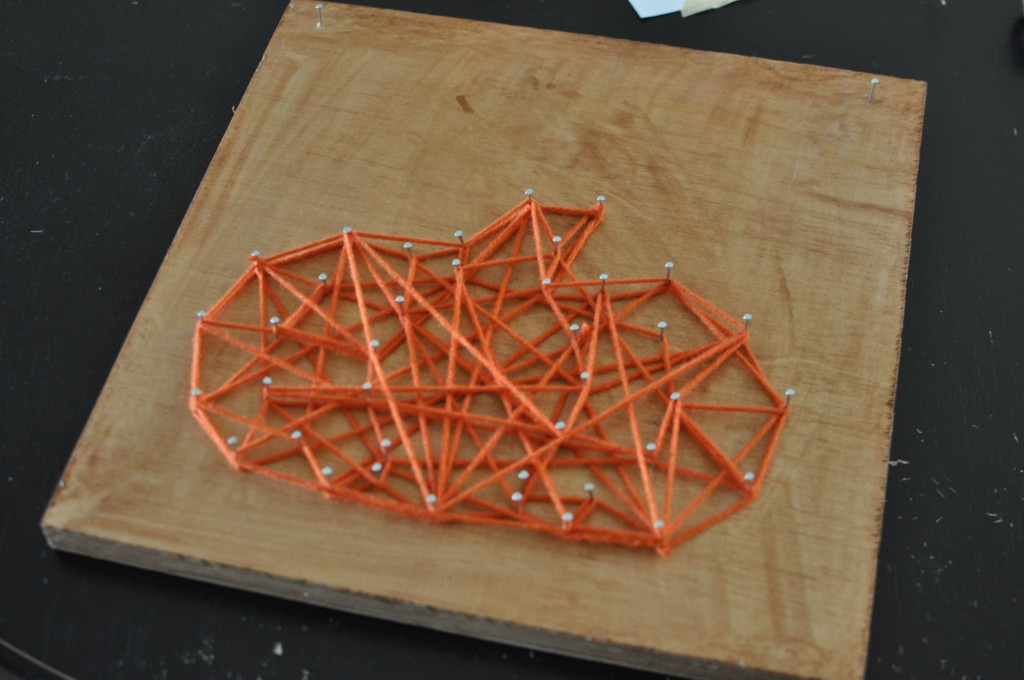
Remember that cute nail & yarn pumpkin board that I decorated with this year? Check it out HERE. My sweet friend Jessica {from DIY Swenson Style} was inspired by some ideas she saw on pinterest to create this great craft. With the help of her creative team she compiled and created this great craft for MOPS recently.
This is a great DIY project to make for:
Yourself: It’s simple to make for yourself if you don’t have very many holiday decor items to decorate your home.
A Hostess Gift: Maybe you need to make it for a nice hostess gift this Thanksgiving. Simple and unique
Christmas Gifts: Or you may just need this idea to inspire you to do a twist on the pumpkin and make some Christmas gifts {think monogram letter or Christmas tree}.
A Quick Craft with Kids: Kids can help with some of the steps {depending on their age and patience level}. What boy doesn’t love to hammer! This took around 20-30 minutes {not including the prep for the wood…the lovely Jessica did this for us ahead of time}. Grant only helped me hammer a few nails but he felt very proud of his work.
Either way it’s simple and cute.
So just go do it!
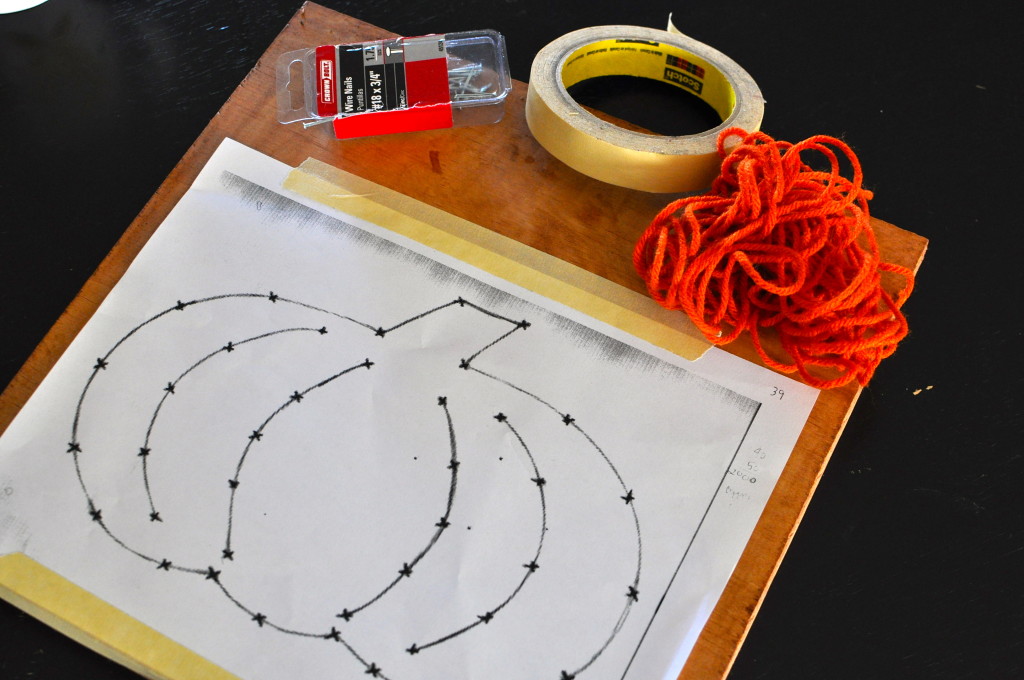
::what you will need::
a small board {scrap wood, painted or stained}
a nail template printed on regular paper {print out a basic image and add “x” marks for the nail placement…see pictures for more ideas on how to do this yourself}
masking tape {to tape down template}
40-50 small nails {uniform in size}
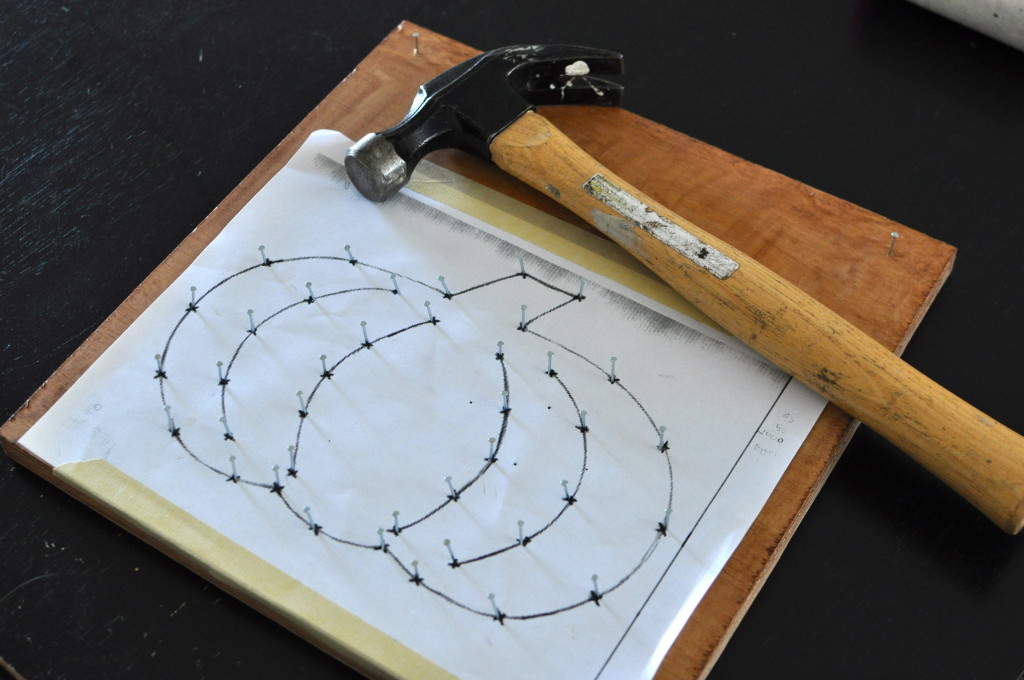
hammer
yarn {color of choice}
::how to make it::
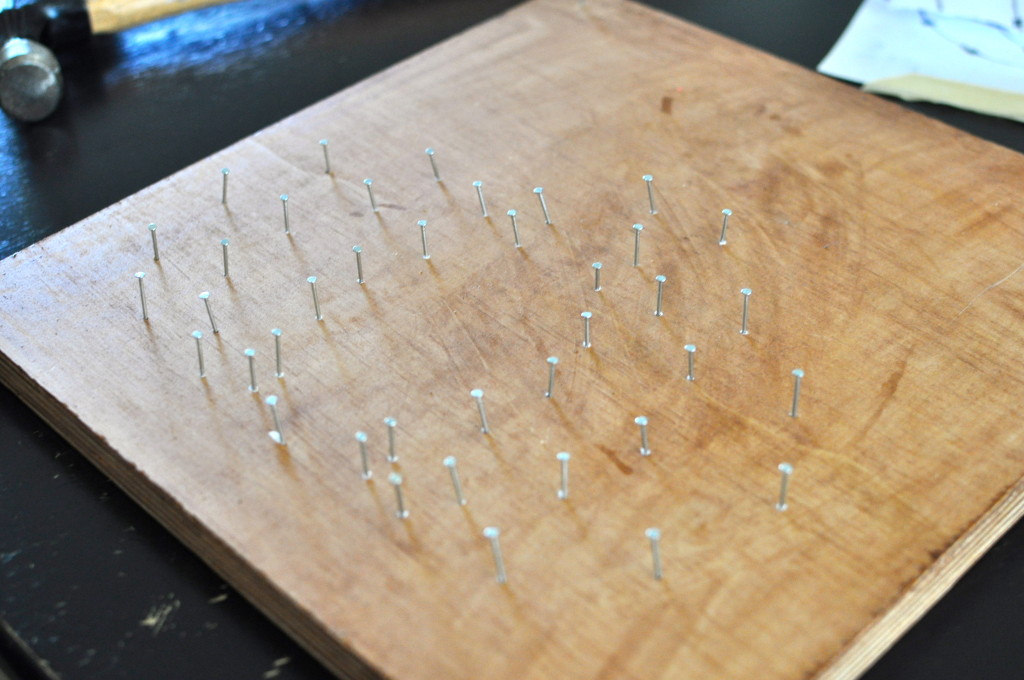
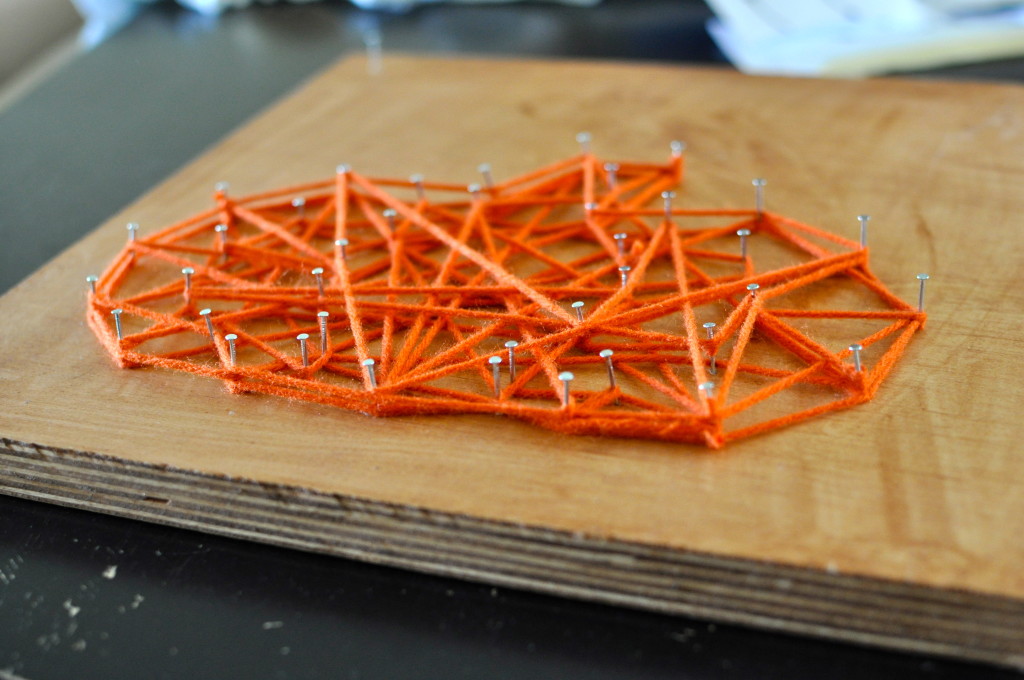
This is pretty basic. Print out a template, mark where the nails should go, tape to board that is already panted or stained, add nails 1/4 into board to make secure, pull off paper, add yarn in a uniform pattern to look like the pumpkin {see white version} or just make a crazy crisscross creation like we did {see orange version}. And the fun part is figuring out where wot display it in your home.
See my step by step pictures below:
